Custom Trails


Mdot's Guide For Setting Up Custom Trails

Getting Started


This guide will show you how to get a simple custom trail working on your sabers.

It assumes you have already followed MissRaynor's Guide for Custom Sabers. If you haven’t looked at that yet, please do so before continuing with this guide.

You will need an image editing software such as Photoshop, GIMP or Paint.net If you are editing / creating your own trail texture

The Custom Trail Script


Select the RightSaber and LeftSaber game objects and add the Custom Trail script by clicking on the Add Component button in the inspector.

addingscript

Then unselect the RightSaber game object (We’ll only look at the left saber for now and copy everything over to the right saber later).

The component should look something like this :

script

Point Start and Point End refer to the points on the saber where the trails will start and end

The Trail Material will dictate what the trail actually looks like

The Color Type refers to which color the trail will follow. If it’s set to Left Saber, it will follow the color that the player has set for their left saber. If it’s set to Custom color it will override what the player has set and use the color that you set yourself in the Trail Color field.

The Length determines how long your trail will be. For most trails, 20 is a bit too high, so chances are you will want to lower it, but feel free to experiment beforehand.

NOTE: It is also possible to have more than one trail on each saber (For eg: SnowResortPro by Harufa). All you have to do is add another Trail script to each saber and repeat the next few steps for the second trail.

Setting Up Start and End Points


Right-click the LeftSaber gameobject in the Hierarchy and and create 2 emptys

empty

Rename them to TrailStart and TrailEnd respectively (They can be called whatever you want. Just make sure you can easily differentiate them).

Move TrailEnd across the Z axis so that it’s right at the tip of your saber. Then move TrailStart to the point where you want your trail to start showing up.

points

Your start point may be further up or down your saber. It depends on how large (in width) you want your trail to be.

Go back to your LeftSaber gameobject and drag the 2 points you created from the Hierarchy to Point Start and Point End respectively.

pointsadded

Duplicate these points for the RightSaber by selecting both your emptys and pressing Ctrl + D.

Then drag the newly created points onto the RightSaber gameobject.

Select the RightSaber gameobject and drag the newly created empties into the Point Start and Point End fields.

Warning: Don’t forget to set color type to Right Saber if you aren’t using the Custom Color option for your trail.

It should look something like this:

hierarchy

Setting Up The Trail Material


First you will need to find a trail texture. This dictates the “design” of your trail. They can be created using almost any image editing software.

It is preferrable to use a file format that supports transparancy, but other formats will work too as long as it can be handled by Unity.

Here is an example of the trail that’s used in dotSpiral V1 :

Trail

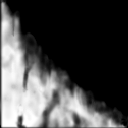
NOTE: Since I used an additive shader, black will act as transparancy

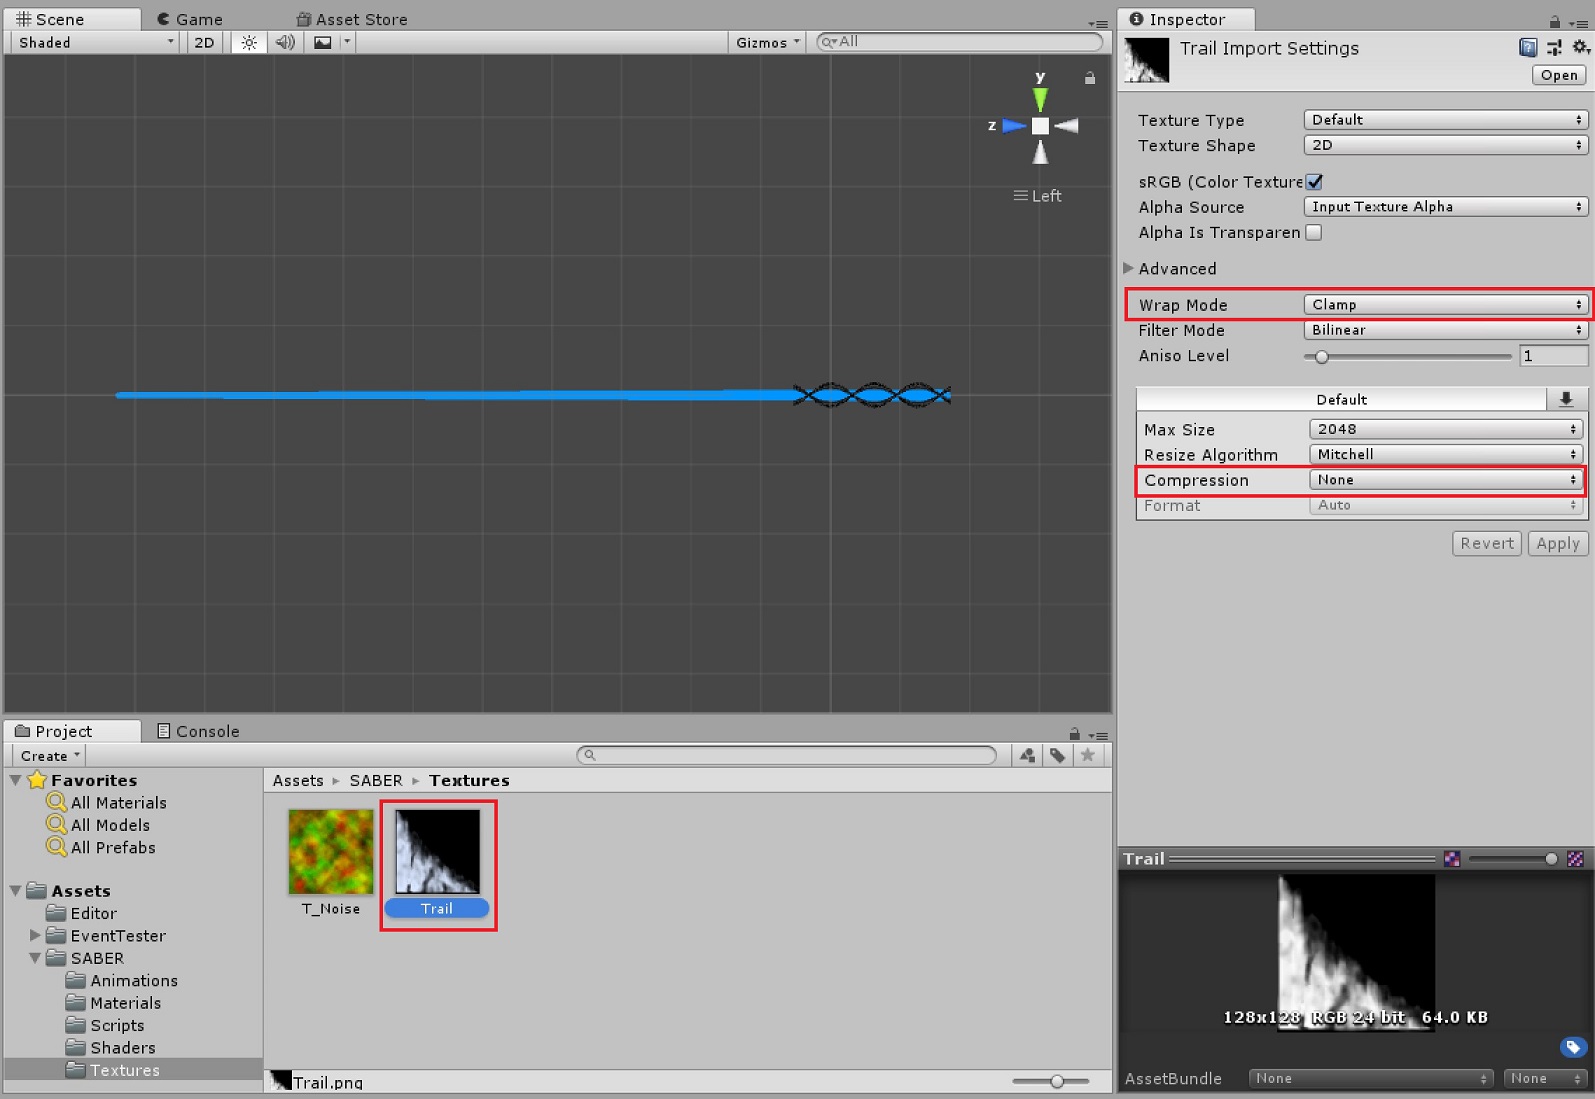
Click on your trail texture and set Wrap Mode to Clamp and set Compression to None. Then press Apply

trailimport

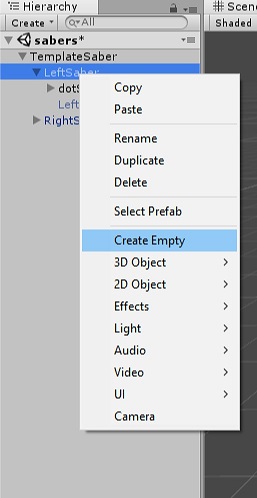
After that, In your project files, Right-click > Create > Material. Name this whatever you like (as long as it can be differentiated from the other materials).

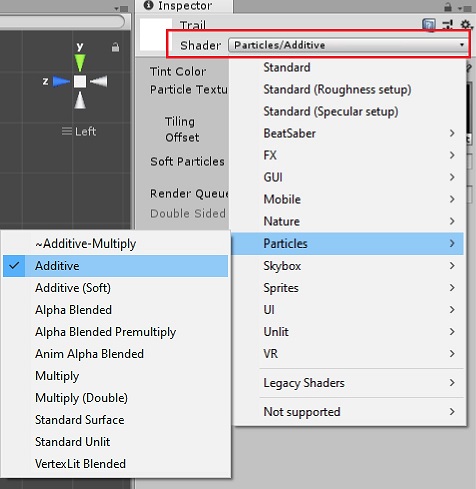
We will use the Particles/Additive shader for this trail. You could also experiment with other shaders depending on what effect you’re going for.

shader

Then we can add our trail texture to the material by adding it to the Particle Texture field

texture

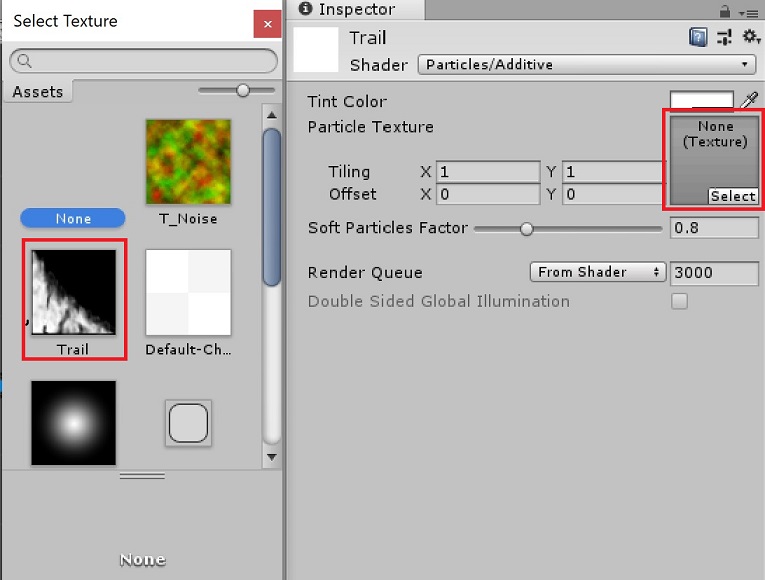
In the Tint Color field, you can adjust the alpha slider to determine how dark / bright your trail will be.

tint

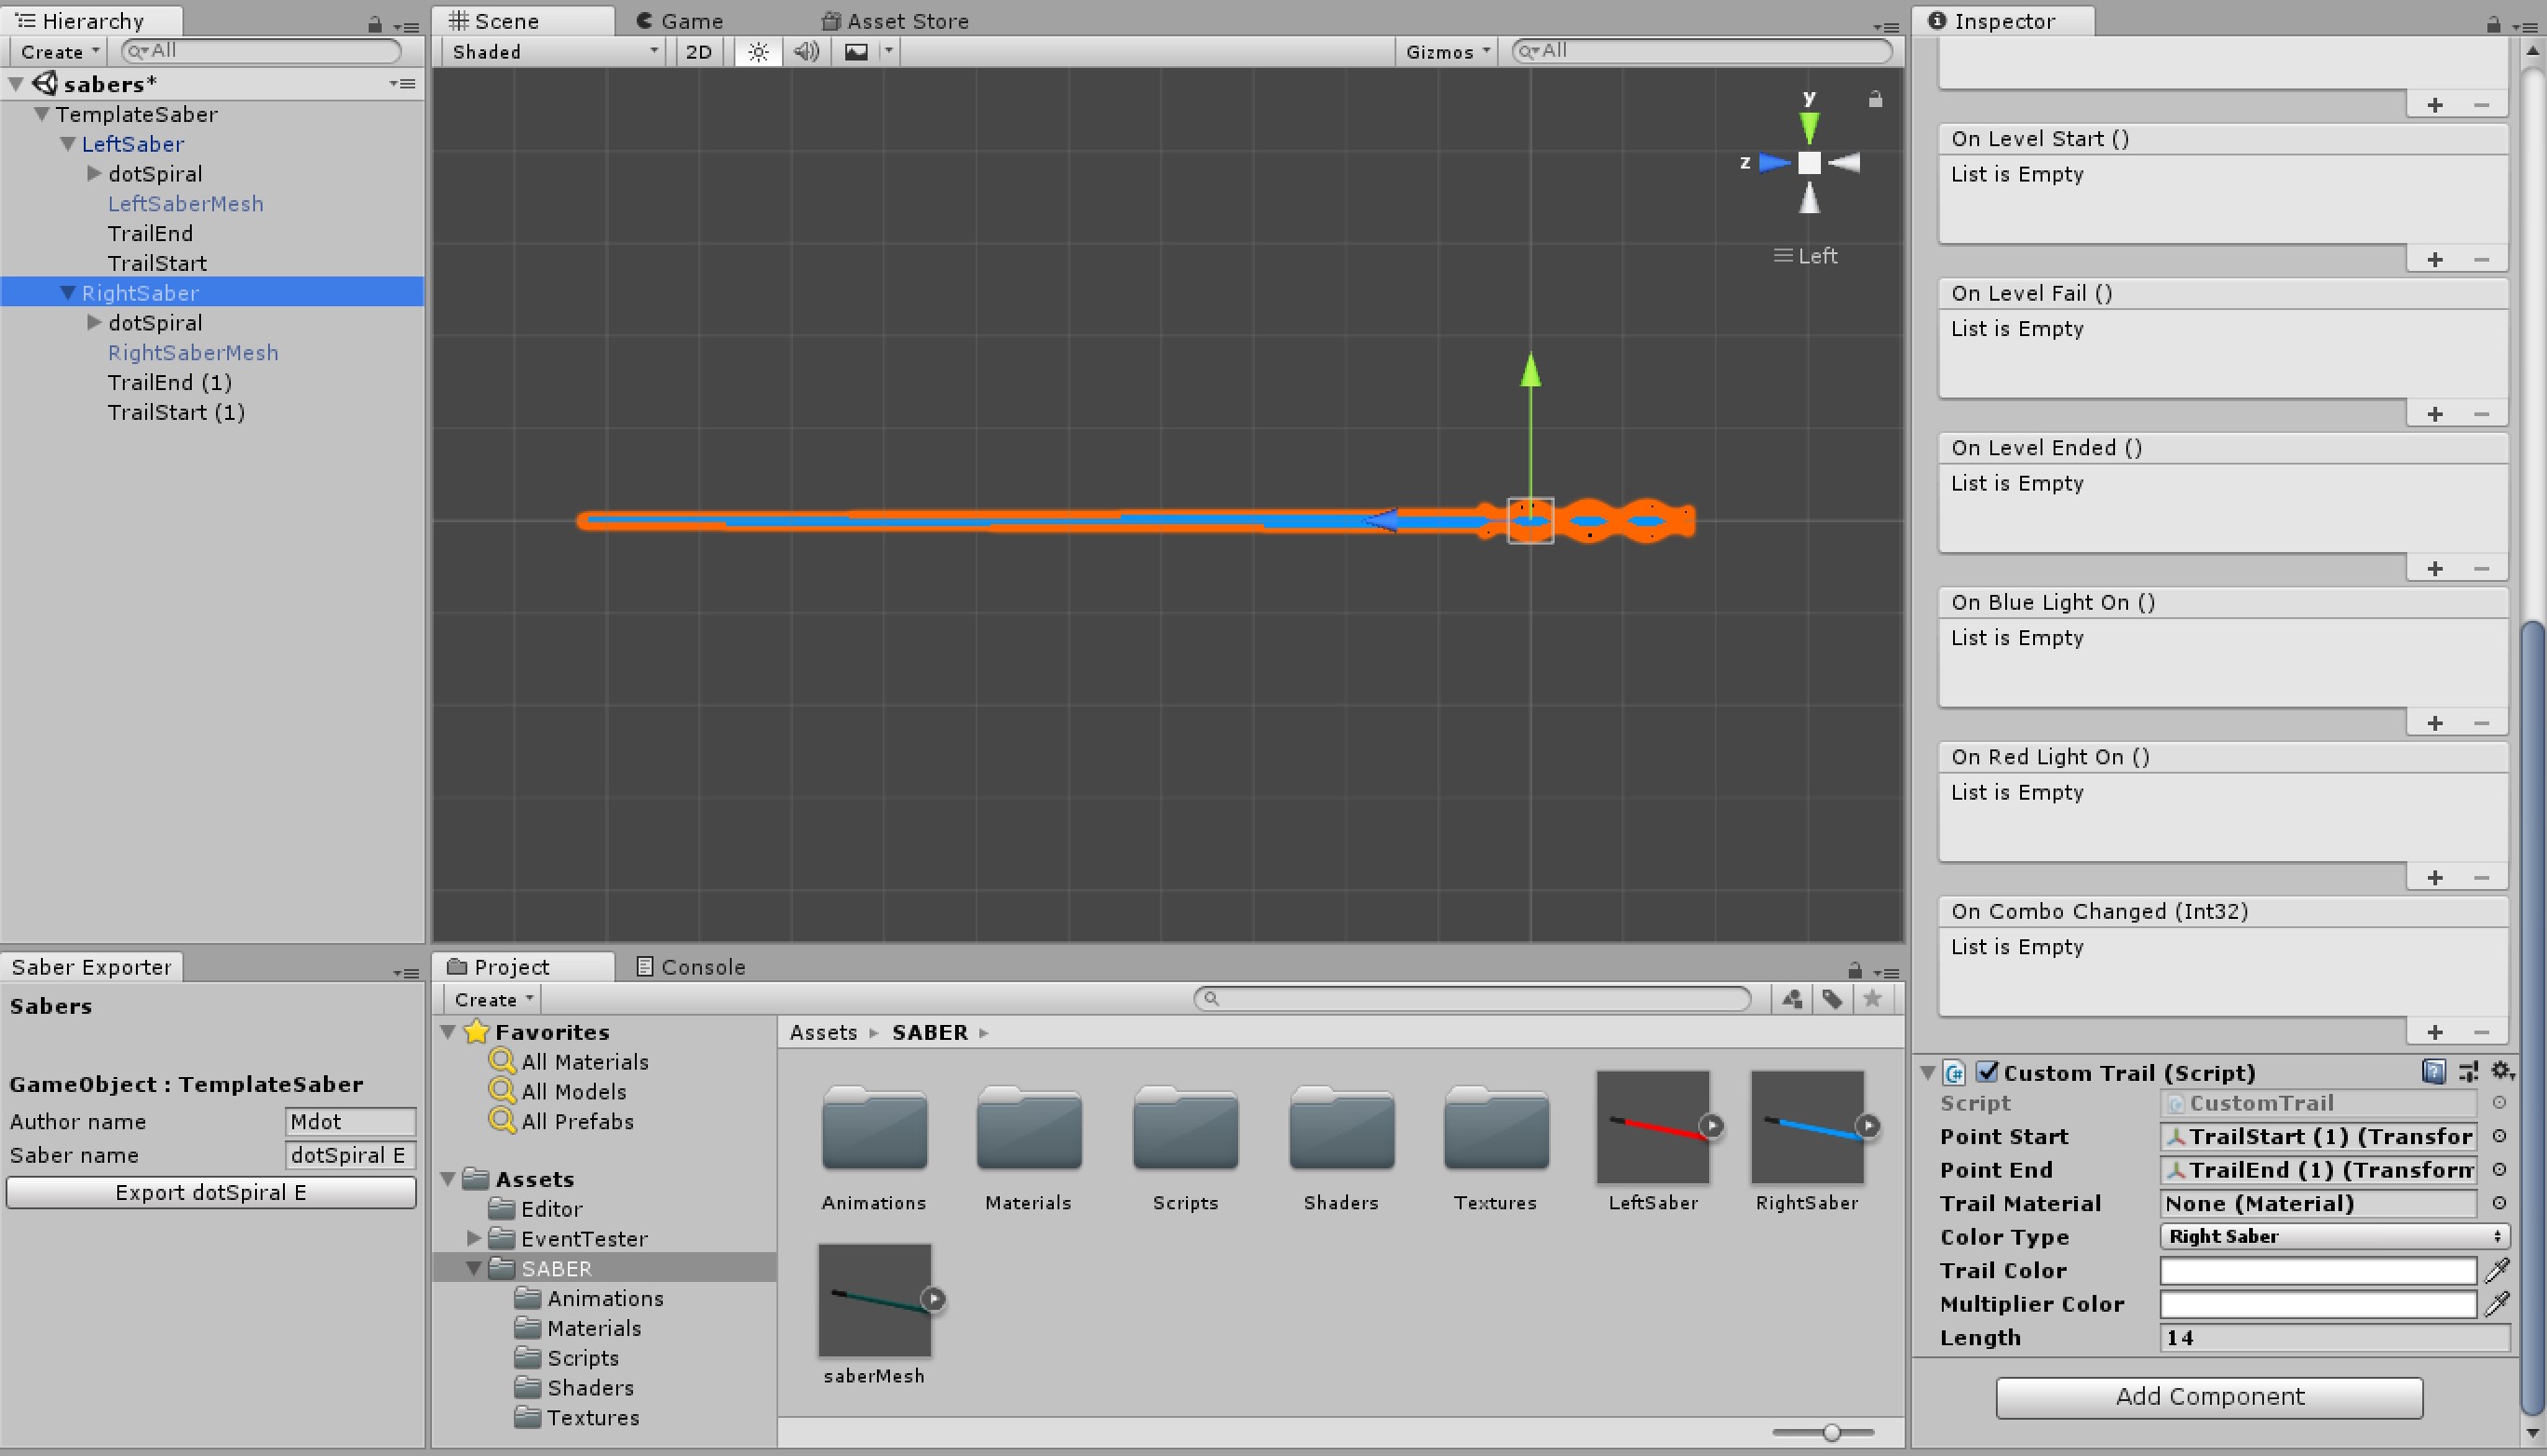
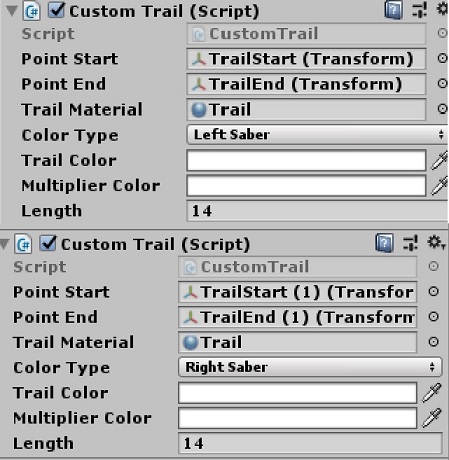
We’re almost done! Now all you gotta do is add the trail material to both sabers.

Select both sabers in your Hierarchy and drag the material onto the Trail Material field.

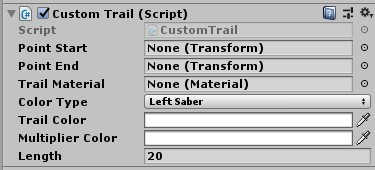
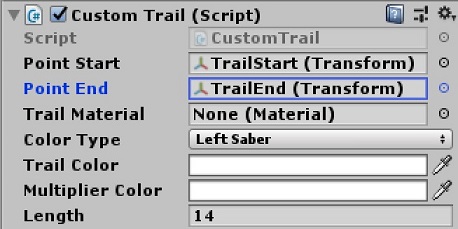
Each trail component should look something like this :

finalscript

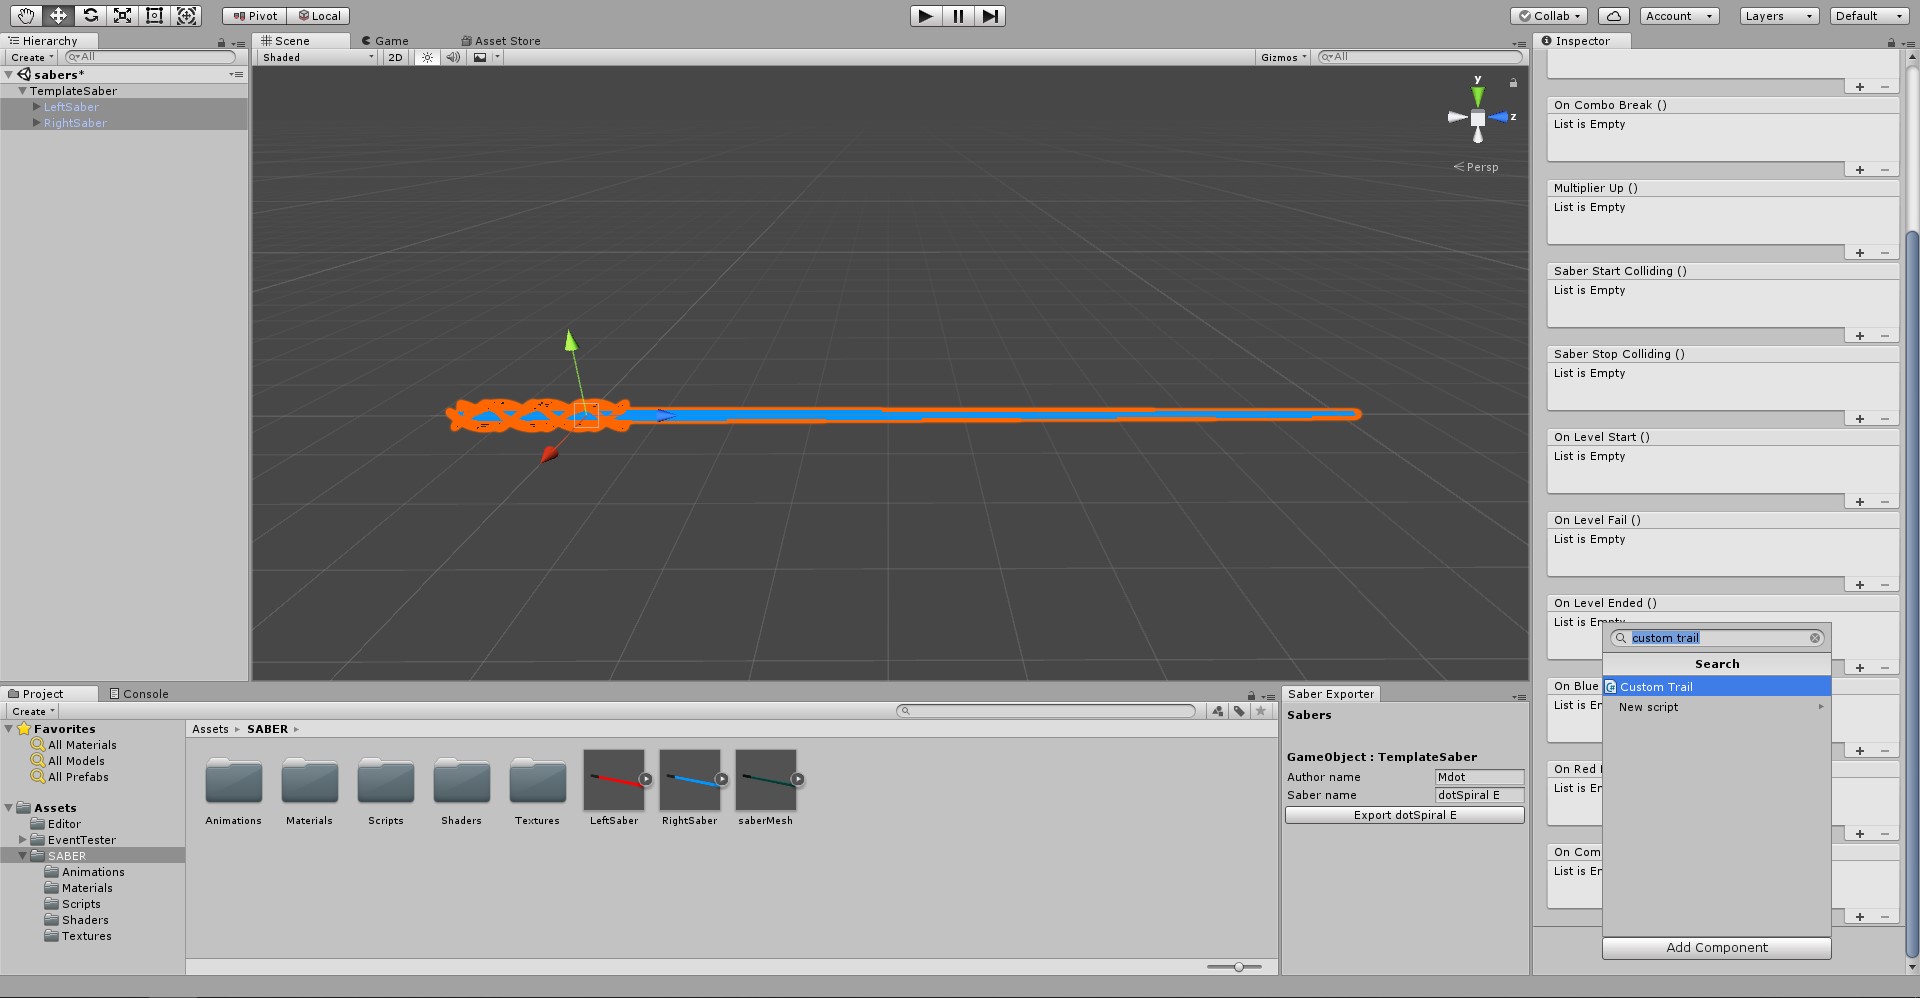
You're now done! Export your sabers using the Saber Exporter and use them in-game!

NOTE: Before you upload your sabers to Modelsaber, make sure you playtest your sabers. Maybe even have someone else look at it beforehand. They may be able to spot something that you may have not caught yourself.